You probably unzipped the database installer’s files when you unzipped the Oracle Clusterware install directories. If not, do that now:
gunzip -c 10201_database_linux_x86_64.cpio.gz | cpio -ivdm FIXMElog2
This installer is also X-based, so if you choose to do it remotely, a correct set up can be verified using xclock. Setting these environment variables are optional prior to running the installer, but will become mandatory once the product is installed, so these two should be put into the appropriate shell profile for the user (in this case, oracle):
export ORACLE_BASE=/mnt/ohome/oracle/1010
export ORACLE_HOME=/mnt/ohome/oracle/1010/product/db
The installer is located at the top of the install tree. The database installer files are located in the same directory as the Oracle Clusterware install directories, which is /home/oracle/inst. To start the installer, execute this shell script:
/home/oracle/inst/database/runInstaller
Starting Oracle Universal Installer...

Checking installer requirements...

Checking operating system version: must be redhat-3, SuSE-9, redhat-4, UnitedLinux-1.0, asianux-1 or asianux-2
                                      Passed

All installer requirements met.

Preparing to launch Oracle Universal Installer from /tmp/OraInstall2006-03-26_08-28-09PM. Please wait ...subbu1 20:28:10 ~/Oracle/10gR2/64/database $ Oracle Universal Installer, Version 10.2.0.1.0 Production

Copyright (C) 1999, 2005, Oracle. All rights reserved.
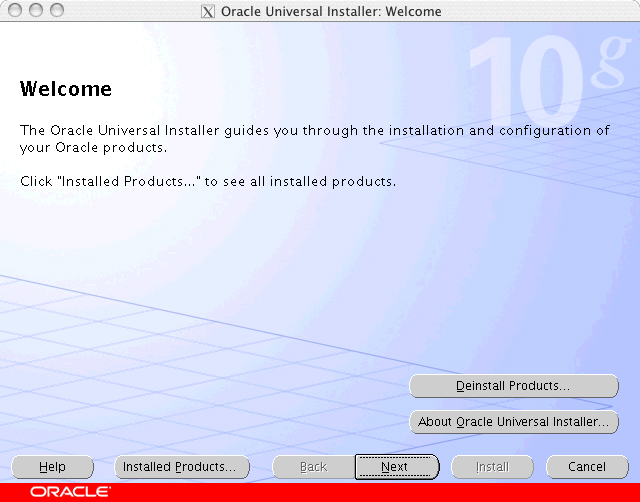
After an initial installer splash screen, this screen appears. Click Next.
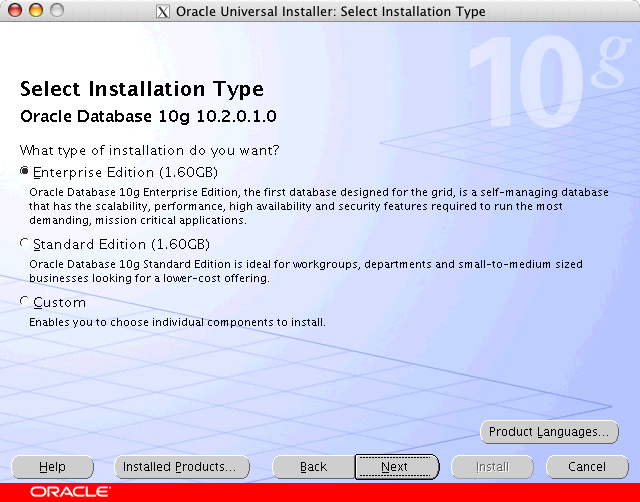
Select Enterprise Edition (1.60GB) and click Next.
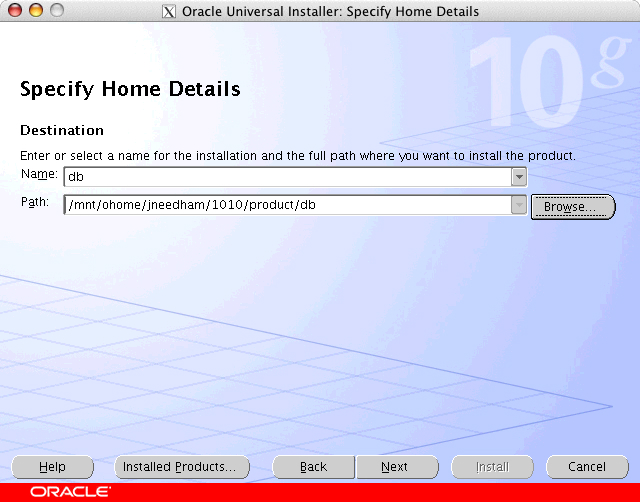
Choose a simple Name (as in the example above) and verify the Path. The installer should have extracted the path from the environment variable:
export ORACLE_HOME=/mnt/ohome/oracle/1010/product/db
Click Next.
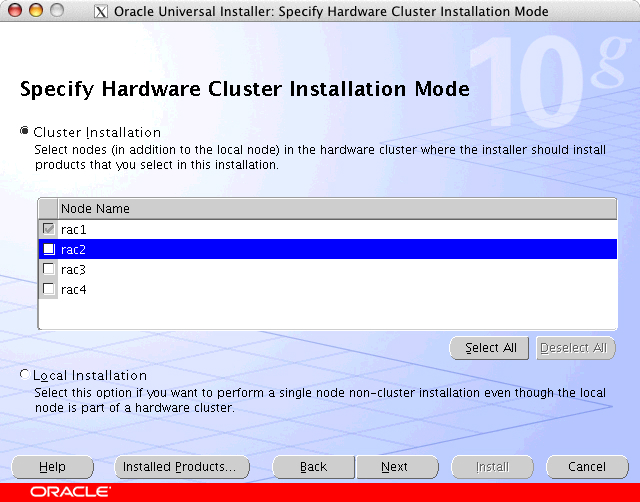
Because this is a Shared Home install, leave only rac1 checked in the Specify Hardware Cluster Installation Mode window.
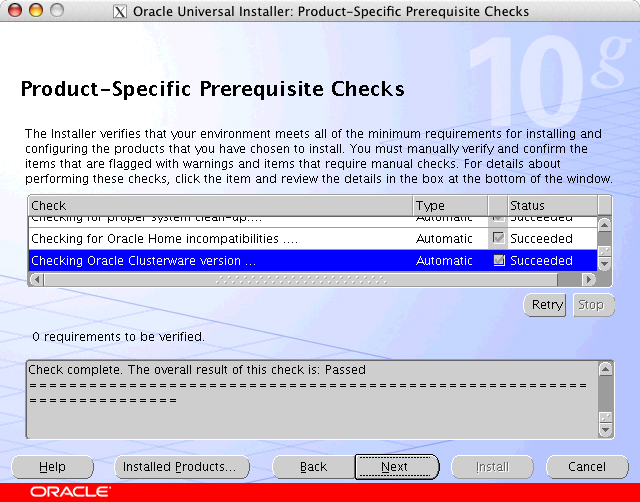
The Product-Specific Prerequisite Checks may fail due to these the installer best practice minimums not being met. It sometimes does make sense to at least review the Warnings to see if they are a legitimate concern. Often they are not, as in this case.
The Product Specific Pre-Requisite Checks window may fail due to some of the installer best-practice minimums not being met. It does make sense to at least review the Warnings to see if they are a legitimate concern. In this case, there were zero requirements to be verified. This appears between the two panes in the window. Click Next.
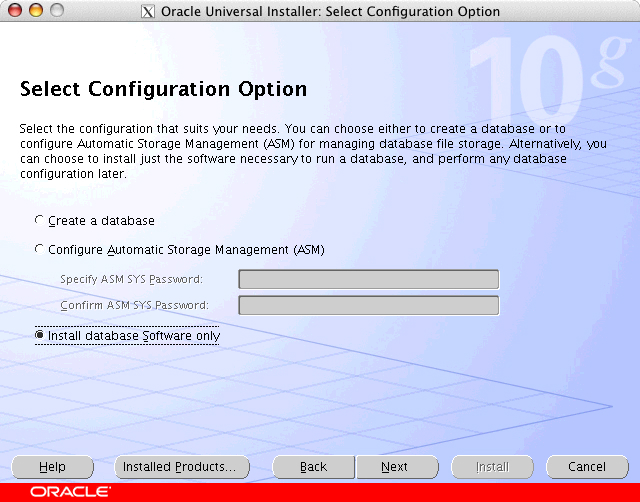
Select Install database Software only and then click Next.
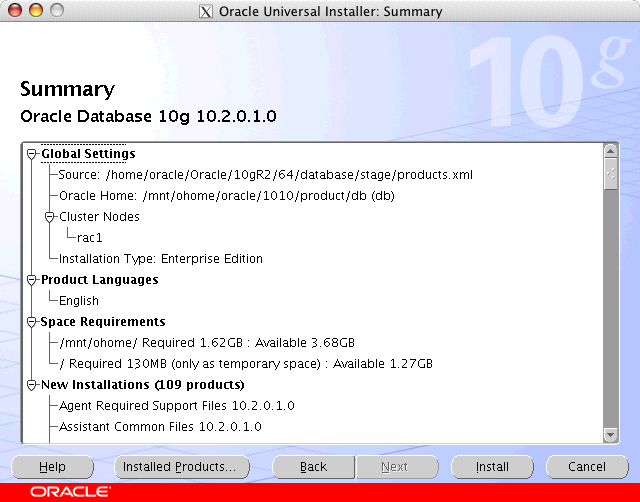
This is the Summary screen. The Cluster Nodes shows only one node in the Cluster Nodes section because this is a shared home install. A lot of files need to be copied, processed and linked and it is during this process where you find you find out you had not installed the libaio-0.3.103-3.x86_64.rpm. Click Install.
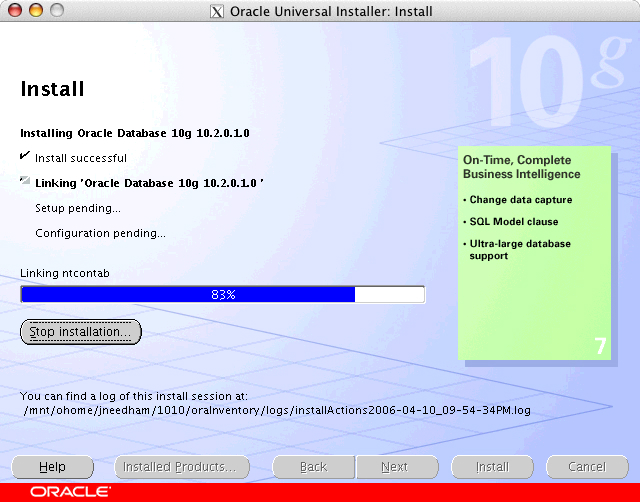
This will take about 10 minutes—depending on the speed of your server.
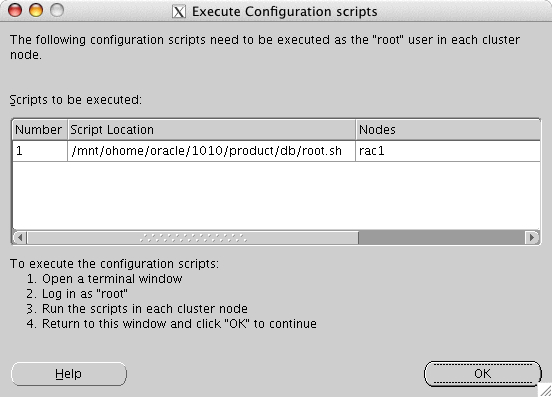
Once complete, a new window will open up on top of the Install screen asking for a script to be executed. Run:
$ sudo ./root.sh
Running Oracle10 root.sh script...

The following environment variables are set as:
    ORACLE_OWNER= oracle
    ORACLE_HOME=  /mnt/ohome/oracle/1010/product/db
Enter the full pathname of the local bin directory: [/usr/local/bin]:
   Copying dbhome to /usr/local/bin ...
   Copying oraenv to /usr/local/bin ...
   Copying coraenv to /usr/local/bin ...

Creating /etc/oratab file...Entries will be added to the /etc/oratab file as needed by
Database Configuration Assistant when a database is created
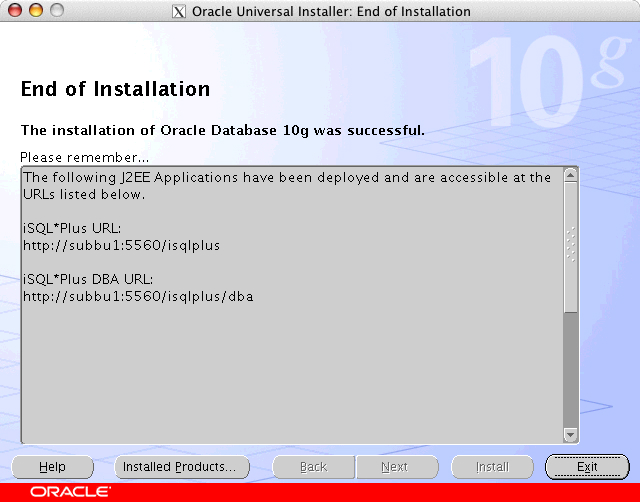
Once this script has completed, click OK, which returns processing to the Install screen and eventually to the final End of Installation screen. Click Exit.
